 For some reason I like to use Fat Quarters on my skirts. I find that I have just enough fabric for what I want and it works out well.
You will need at least 4 different fabrics of Fat Quarters, and 1 yard of coordinating fabric.
Step 1: take waist measurement and times it by 3 to get your total diameter for the skirt.
Cut the Fat Quarters into strips of 6 inches by 10 inches. I used 3 strips of each pattern, to equal 12 strips. (This is for a 3 year old. If you are making this for someone smaller or bigger, adjust length and width of strips by a few inches)

To maintain a good width, I used a smaller seam, about 1/4 inch.
Sew all your strips together length wise, alternating patterns.
Press seams open.
 Measure the finished width of the strips after they are sewn together. Cut the yard of fabric the length you need, by 6 inches wide (for the bottom strip) and the length, by 4 inches wide for the top strip. (Depending on the finished length of the strips, you might need to piece together the strips for the top & bottom.)
 Sew the top strip (4 inches) onto the 6x10 strips. (If you pieced together the top, find the middle of the strips and line it up so it matches. Once again, I used a seam of 1/4 inch.
 This is what it will look like when you get the top piece sewn on.
 For the bottom strip(6 inches): Attach it the same way as the top strip. Then sew the skirt together to make a tube, and press the seam open. To make the bottom hem, fold the bottom strip up to meet the opposite edge and sew on top of the existing seam. Press seam up.

Then sew a top stitch next to the seams.
This adds a finer detail and also reinforces the seams.
I did a top stitch along the seam of the top strip and in each 6x10 strip to make sure that I got EVERY seam.

On the top strip fold over to make a tube for the elastic. Add your elastic and you're done!!!

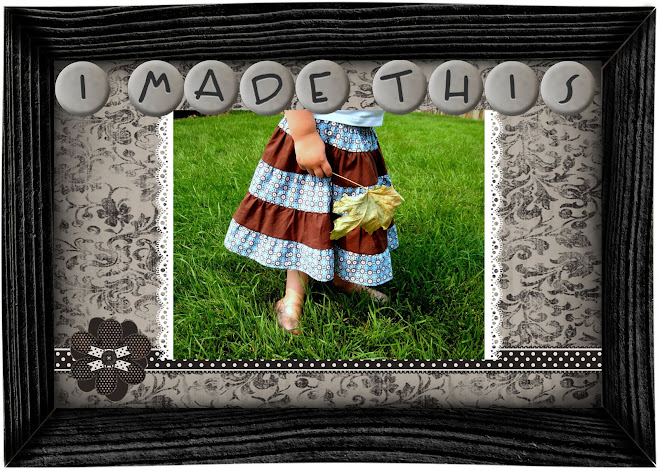
The finished product!!!!!


Again, great job on showing the step by step instructions, I'm going to have to make one of these really soon. :)
ReplyDelete